-
Who This Checklist Is For
-
Step 1: Confirm the Exact Model and Serial Number Before You Do Anything
-
Step 2: Look Up Parts by OEM Number, Not Description
-
Step 3: T600 Floor Scrubber — First-Time Operation
-
Step 4: M17 Floor Scrubber Setup — What Nobody Tells You
-
Step 5: Trench Sweeper Machine — Route Planning Before Operation
-
Step 6: Weekly Preventive Checks (10 Minutes)
-
Step 7: When to Repair vs. When to Replace
-
Common Mistakes to Avoid
Who This Checklist Is For
If you manage floor scrubbers — Factory Cat or otherwise — and you've ever ordered the wrong part, watched a T600 throw an error code you didn't understand, or wondered whether your trench sweeper machine is actually set up right, this is for you. I handle equipment orders for industrial facilities across Wisconsin and Kentucky. I've been doing this about six years now. And I've made enough mistakes that my team keeps a laminated copy of this list taped inside the maintenance closet.
Seven steps. No background reading required. Grab your machine's model number and a cup of coffee (or something stronger if it's a Monday).
Step 1: Confirm the Exact Model and Serial Number Before You Do Anything
This sounds obvious. It is not. "Factory Cat floor scrubber" is not a model — it's a brand. Factory Cat makes the 34, the XR, the Magnum, the Micro HD, and more. The Factory Cat Mini HD and the standard Mini are not the same machine, and their parts don't always swap.
In 2019, I ordered brush assemblies for what I thought were four matching units. Three of them were the same model. The fourth was a different generation — same body style, different mounting bracket. That mistake cost us about $600 in return shipping and a week of downtime on a unit we couldn't clean with.
What to do: Find the metal data plate on the machine (usually under the seat or behind the rear panel). Write down the model number AND serial number. Photograph it. This takes 30 seconds and saves days.
Step 2: Look Up Parts by OEM Number, Not Description
When I first started ordering Factory Cat floor scrubber parts, I listed what I needed in plain English: "52-inch squeegee blade, rear." Half the time it worked. The other half, I'd get a blade that was 50 inches, or for the front, or for a different series entirely.
Everything I'd read said aftermarket parts were fine as long as specs matched. In practice — at least for squeegees and brush assemblies — OEM numbers prevent more problems than they cost. The aftermarket savings (maybe $15-30 per blade) disappear fast when you're returning three orders.
What to do: Get the OEM parts manual for your specific model (Factory Cat publishes these; your distributor should have a PDF). Order by part number. Keep a spreadsheet of what you ordered, when, and for which serial number.
I should add that for some consumables — squeegee blades in particular — third-party options have gotten noticeably better since about 2022. But start with OEM, learn the machine, then experiment.
Step 3: T600 Floor Scrubber — First-Time Operation
The T600 is a walk-behind scrubber that a lot of facilities pick up used. The "t600 floor scrubber how to use" question comes up constantly because the control layout isn't intuitive if you're coming from a different brand.
Here's the short version:
- Fill the solution tank with water first, then add detergent. Not the other way around. I've seen foam overflow twice.
- Check the squeegee blade for nicks before every use. A 1mm nick leaves a visible streak on the floor. Run your thumbnail along the edge.
- Set the brush pressure based on floor type. Concrete: higher. VCT or epoxy: start low, increase only if needed. Too much pressure burns through pads fast — I learned that one at about $40 per pad.
- Start the machine moving before you lower the brush. Engaging the brush while stationary can leave a swirl mark that takes longer to buff out than the whole scrub.
The error codes are another thing. If you see a code flashing, check the Factory Cat manual first — most codes are actually in there, even if the on-machine label doesn't explain them. Our repair tech told me people call in for things that are literally printed in the troubleshooting section.
Step 4: M17 Floor Scrubber Setup — What Nobody Tells You
The M17 floor scrubber is a bigger machine, and the setup matters more. Two things I got wrong in my first year:
- Battery charging routine. The M17's lead-acid batteries want to be charged after every use, not when they're "low." Waiting until they're at 20% cuts their lifespan noticeably. If I remember correctly, we got about 18 months out of our first set instead of the expected 3+ years. That was an $1,100 mistake.
- Squeegee tilt angle. The rear squeegee should be tilted so the blade contacts the floor at roughly a 45-degree angle. Too flat and it skips. Too steep and it squeals and wears unevenly. Takes two minutes to adjust with the knob on the linkage.
Step 5: Trench Sweeper Machine — Route Planning Before Operation
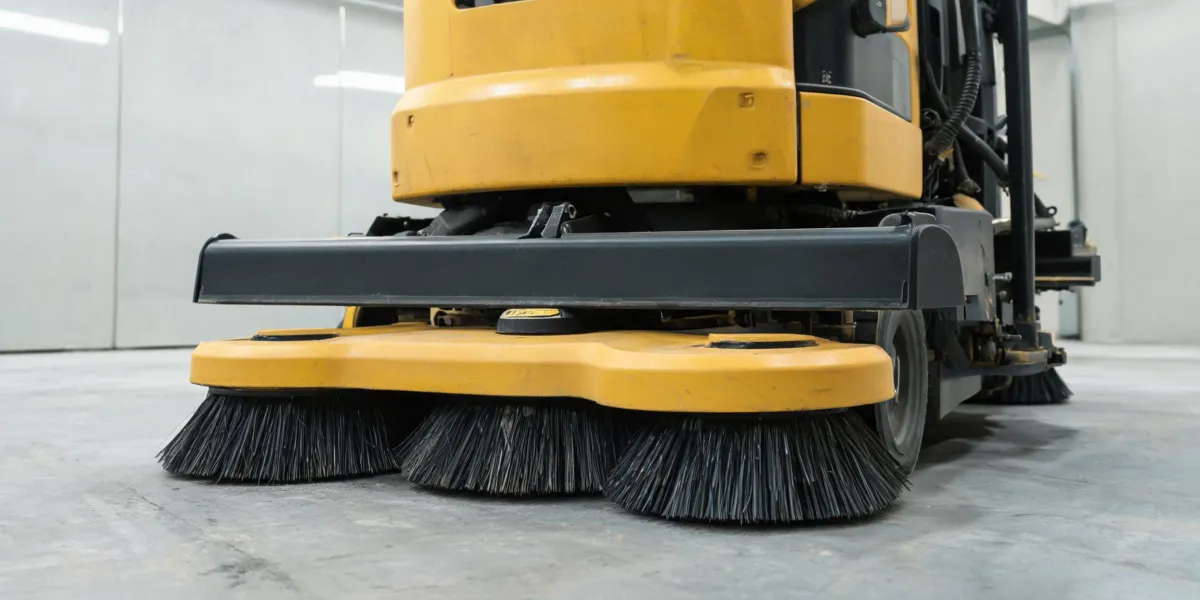
A trench sweeper machine is not a floor scrubber. Different tool, different job. But people conflate them, and that leads to using the sweeper where a scrubber should go (or vice versa).
The main checklist for a trench sweeper:
- Walk the route first. Look for debris larger than the intake. A trench sweeper will choke on a chunk of pallet wood. I know because I watched it happen.
- Check the hopper seal. A worn seal means dust escapes and you're just pushing dirt around.
- Empty the hopper before it's full. At about 75% capacity, sweeping efficiency drops. Sounds minor. Isn't.
Step 6: Weekly Preventive Checks (10 Minutes)
This is the step most people skip. These are the items that, if ignored, turn into repair orders:
- Squeegee blade edge condition (all machines)
- Brush/pad wear — replace when bristles are under 1/2 inch
- Solution filter — rinse it weekly on the T600 and M17
- Battery water levels (flooded lead-acid only)
- Vacuum hose for cracks or clogs
- Error code history — write down anything that flashes, even if it clears
We've caught maybe 30-some potential failures using this list over the past year and a half. I want to say it's saved us around $2,500 in emergency repairs, but don't quote me on that exact number.
Step 7: When to Repair vs. When to Replace
Rough rule of thumb: if the repair estimate exceeds 40% of a comparable replacement's cost, and the machine is over 7 years old, replace it. Under that threshold, repair. Between 40-60%? Judgment call — consider how critical the unit is to daily operations.
What was best practice in 2018 — fix everything, run it into the ground — may not apply in 2025. Parts availability for older models has tightened, and downtime costs more than it used to. The fundamentals (maintain what you have) haven't changed, but the repair-or-replace math has.
Common Mistakes to Avoid
- Ordering parts without the serial number. Already covered, still worth repeating.
- Mixing detergent brands in the same tank without rinsing. Some combinations gel up.
- Running a scrubber on a dry floor "just to sweep." That's what sweepers are for. Dry scrubbing damages pads and can scratch finished concrete.
- Ignoring a slow-starting error code. It's telling you something.
- Assuming all Factory Cat models share the same maintenance schedule. They don't. Check your specific manual.
One more thing — if you're ordering Factory Cat parts and you're in the Wisconsin or Kentucky area, having a local distributor matters more than you'd think. Shipping on heavy components (brush motors, squeegee assemblies) adds up, and a local contact can often pull from stock the same day.
I still kick myself for not building that relationship earlier. Would've saved me at least two overnight shipping charges in year one alone.

Leave a Reply